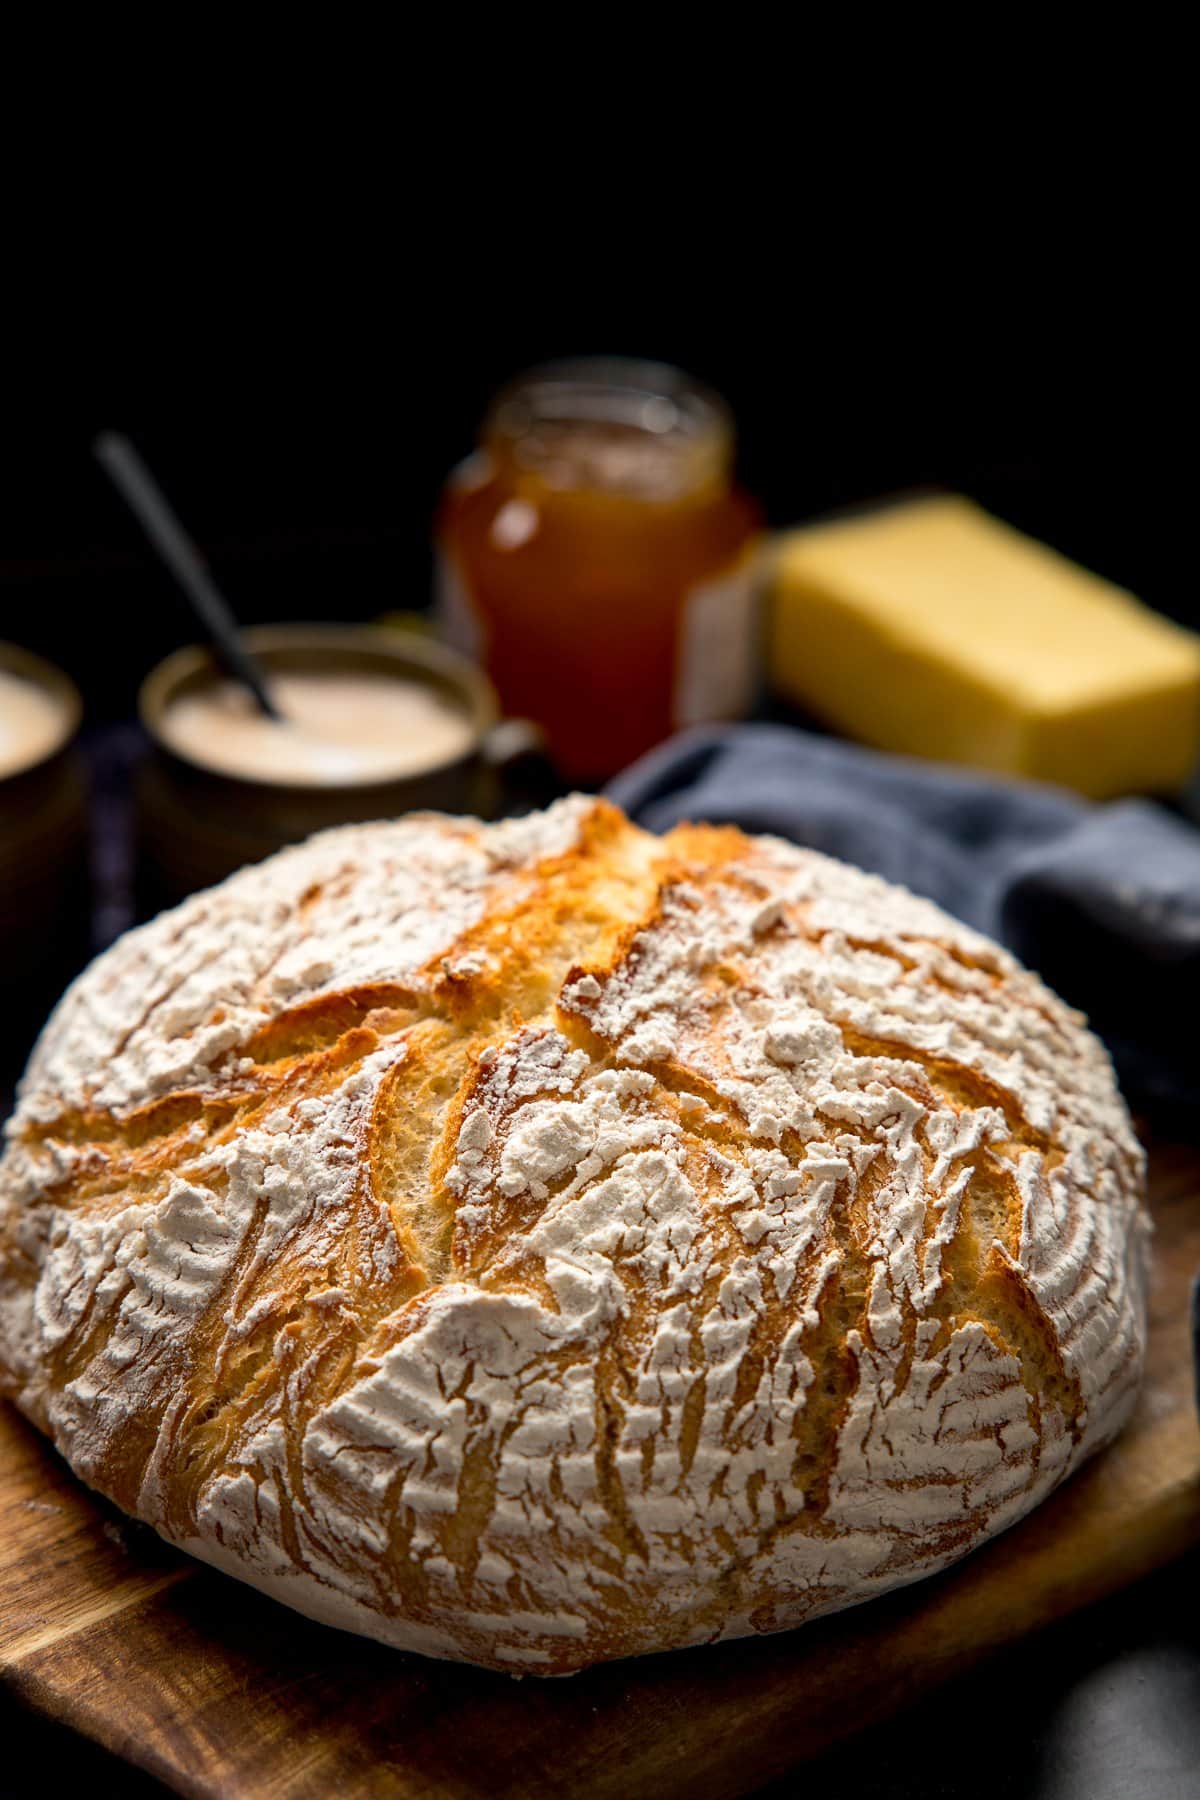
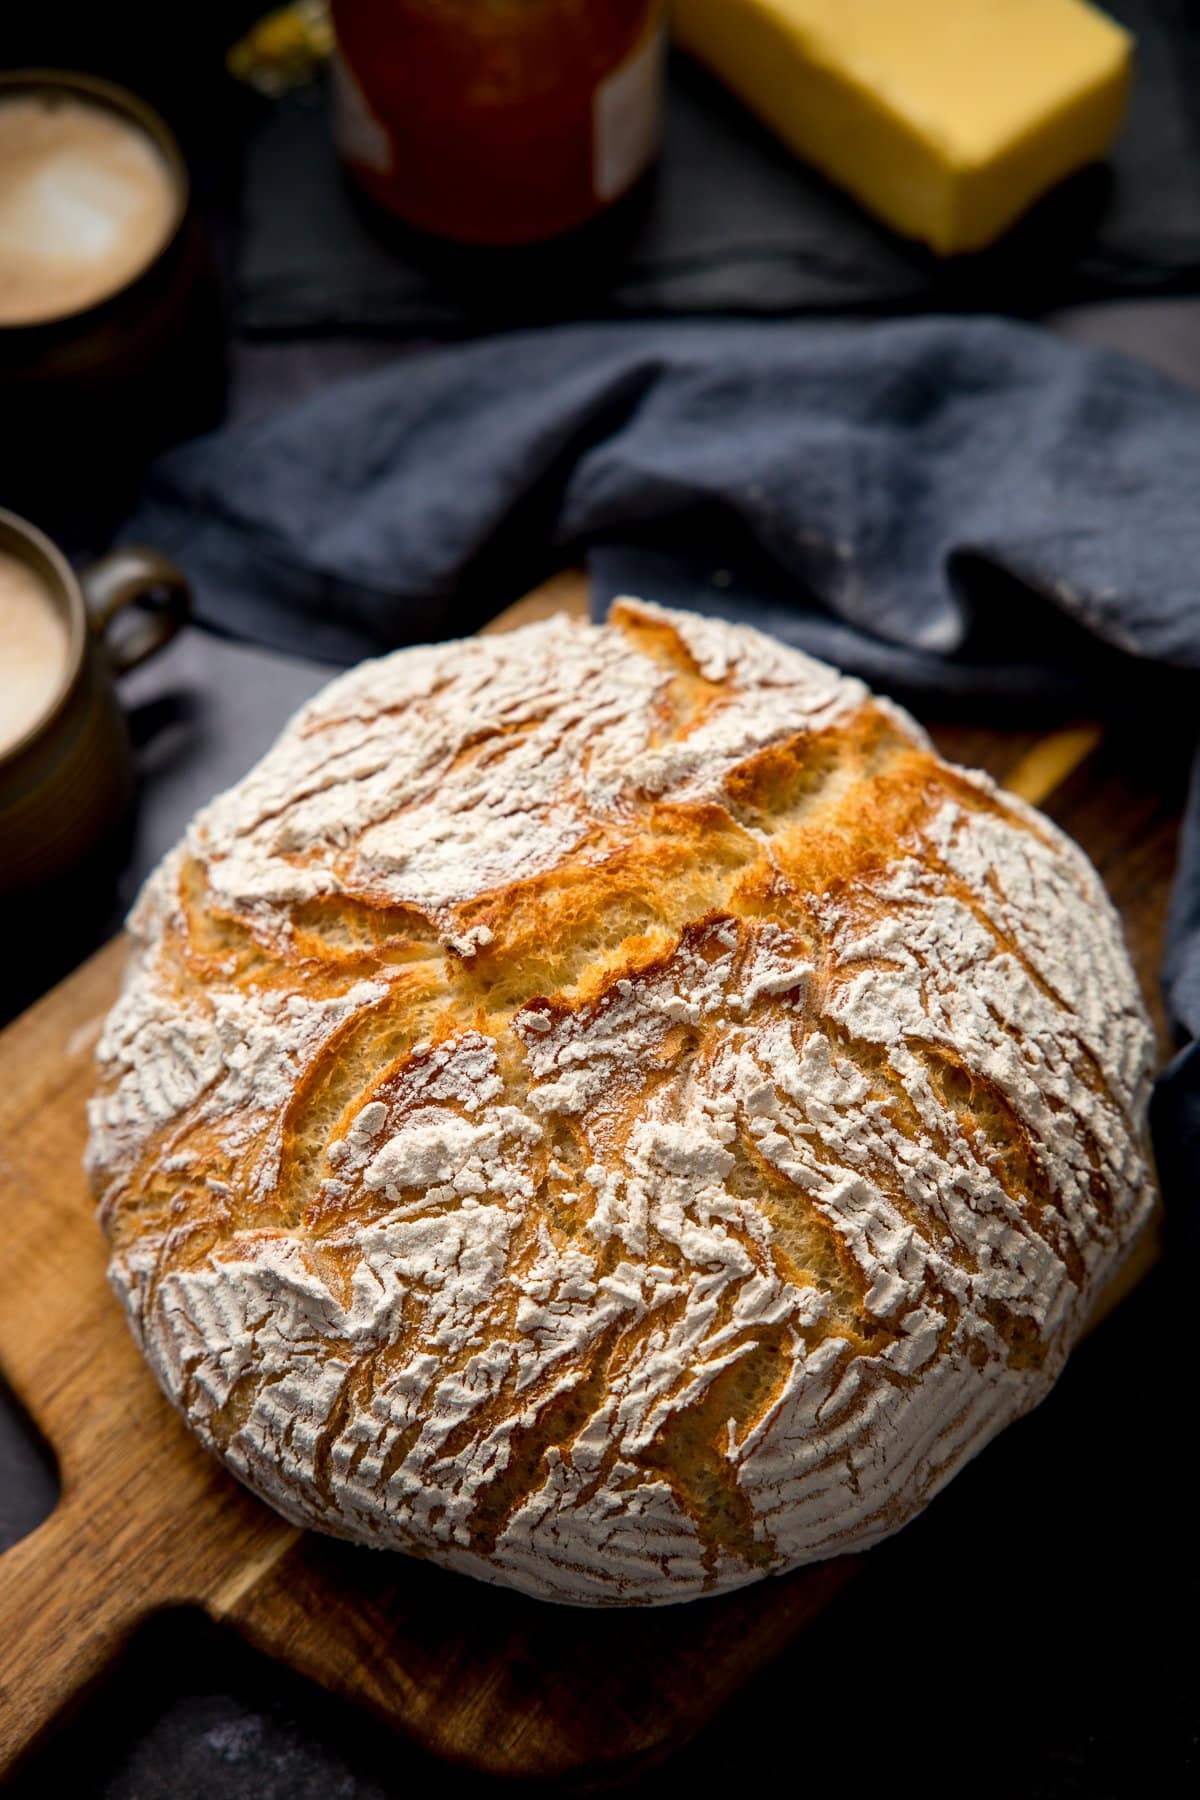
I’ve finally cracked the code to making bread that not only tastes fantastic but looks so pretty too!And now I can’t stop making it.Well, actually I have stopped making it for a little while because I ran out of flour and yeast.But hopefully, it will arrive with my next shopping delivery 🤞
Does need kneading - but you can use your food mixer with a dough hook if you have one. If you REALLY don’t want to knead then I’ve included some info in the tips at the bottom of the post so you don’t have to do it.A Dutch Oven will give you the best, most even and perfect light crunchy exterior. I’ve included info in the tips below on alternatives and what to expect (including pictures) if you don’t have a Dutch Oven.A bread proving basket will substantially improve the Artisan look of your bread (that lovely flour ring pattern on the bread) and will help you to achieve that lovely craggy top. But again, I’ll talk about what to do if you don’t have one in the tips below.
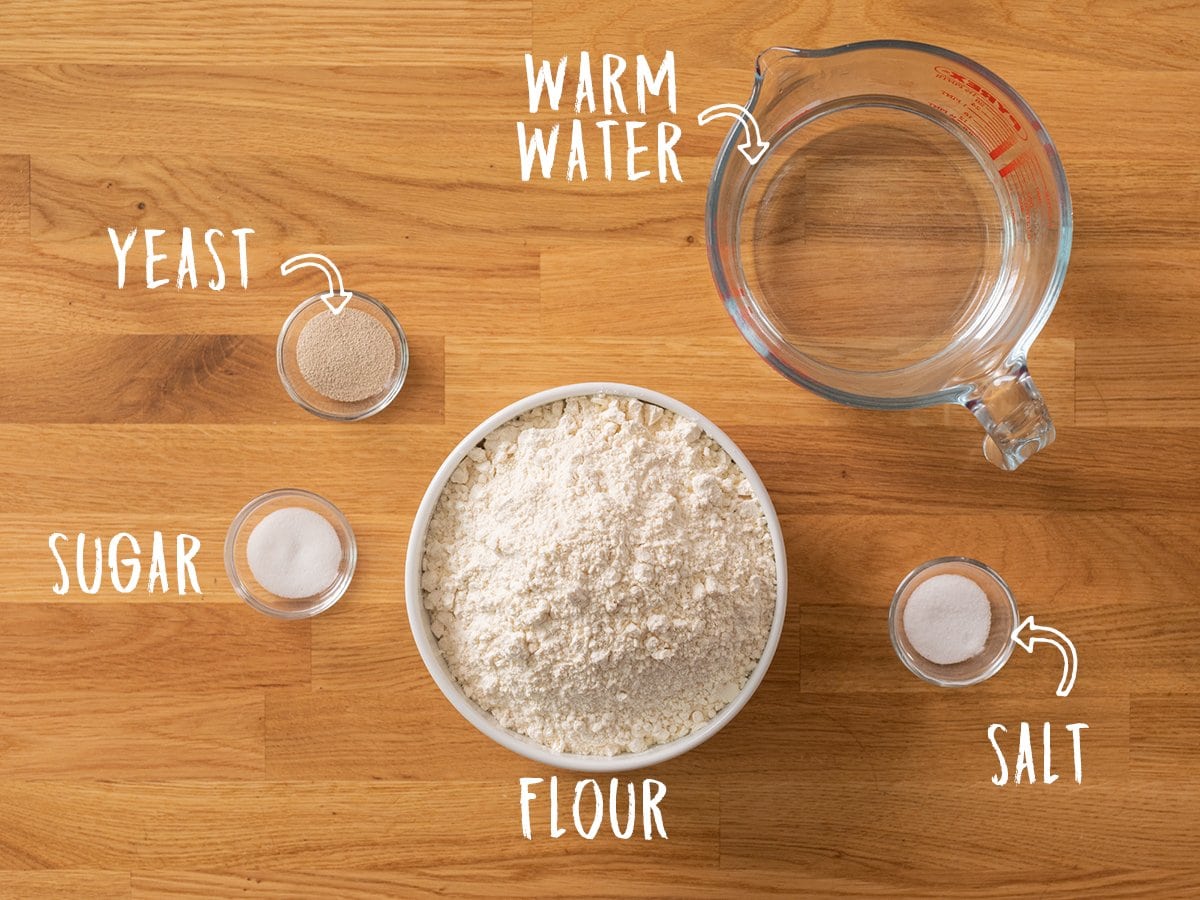
What do we need?
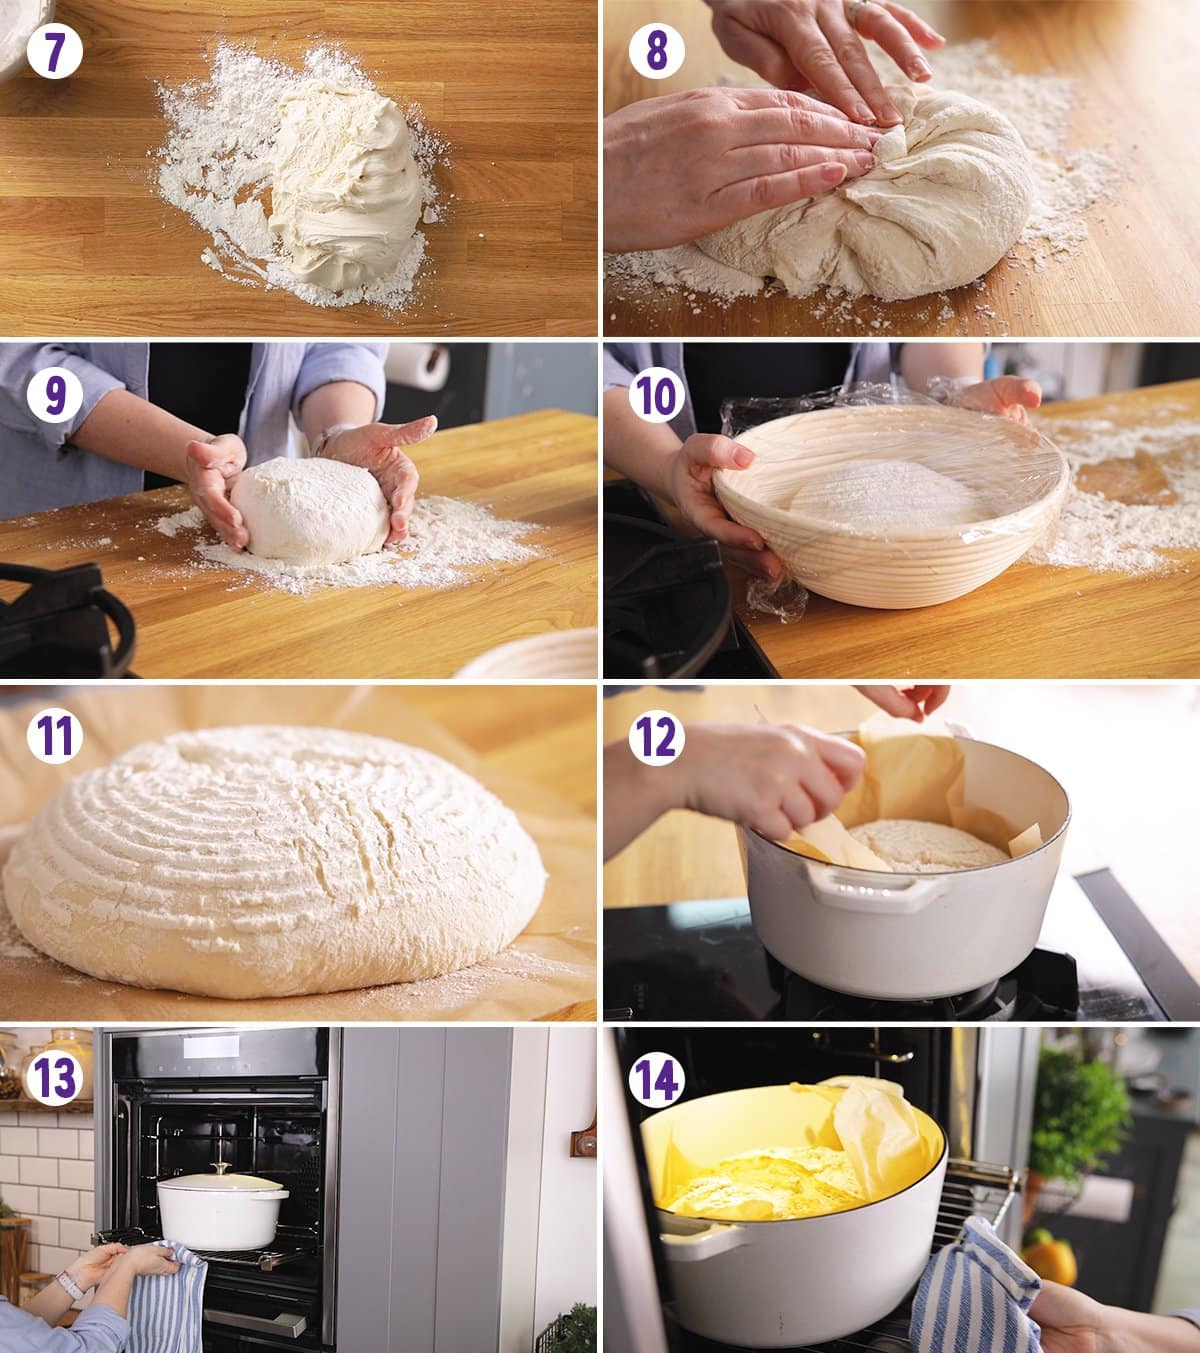
Tip the dough onto a well-floured surface and shape the dough by grabbing a piece from the outside and pulling it into the middle.Continue this, pulling the dough in all the way around until the dough no longer wants to stick in place (see the video for a visual on this).Turn the dough over, finish off rounding it out and place in a well-floured proving basket or floured bowl - SEAM-SIDE-DOWN. Cover and prove for 30 minutes.Meanwhile, preheat a Dutch Oven in the oven.Tip the dough out of the proving basket onto a piece of baking parchment, so it’s SEAM-SIDE UP and carefully lower the bread into the Dutch oven, holding onto the edge of the parchment. Place the lid on top and bake for 30 minutes, then remove the lid and bake for a further 10-15 minutes until golden brown.
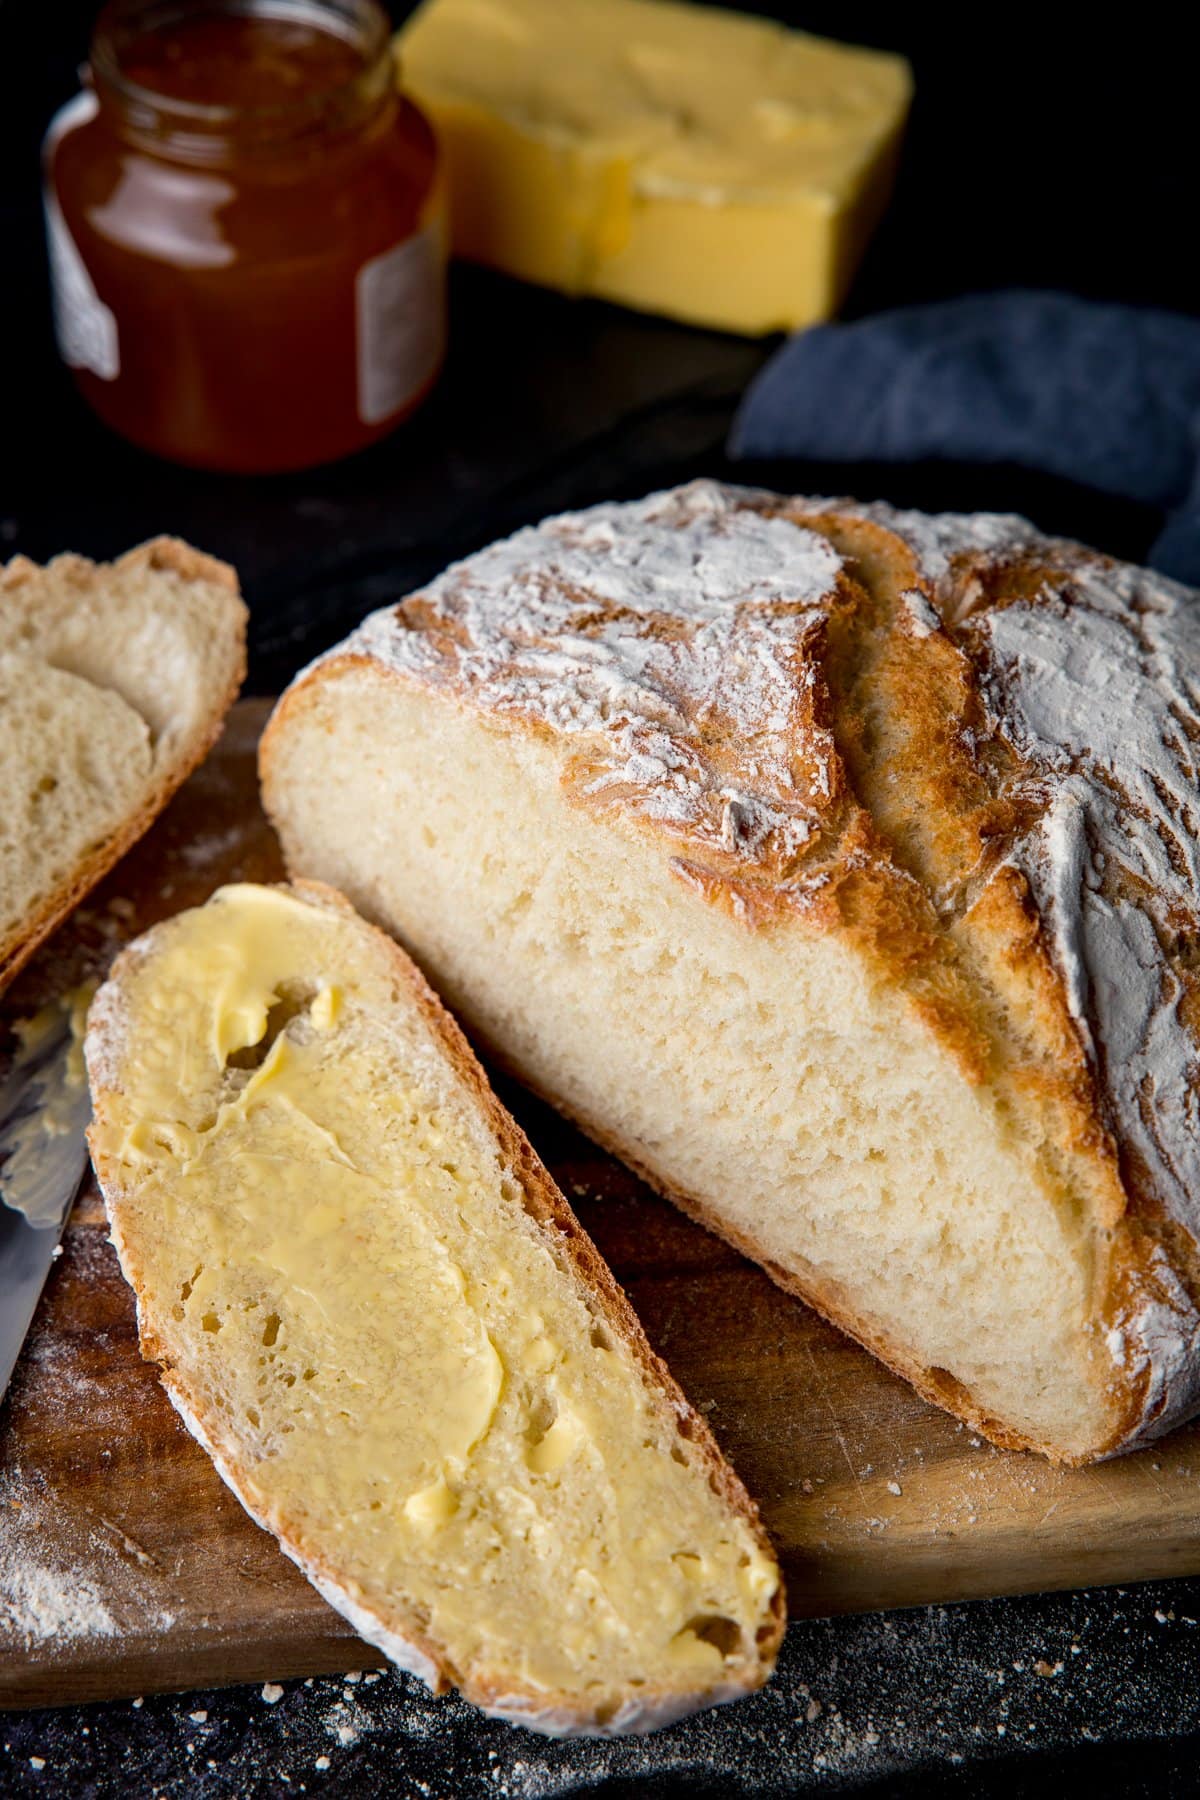
Remove from the oven and allow to cool completely on a cooling rack before slicing and serving.
Watch how to make it
Stay updated with new recipes!Subscribe to the newsletter to hear when I post a new recipe. I’m also on YouTube (new videos every week) and Instagram (behind-the-scenes stories & beautiful food photos).
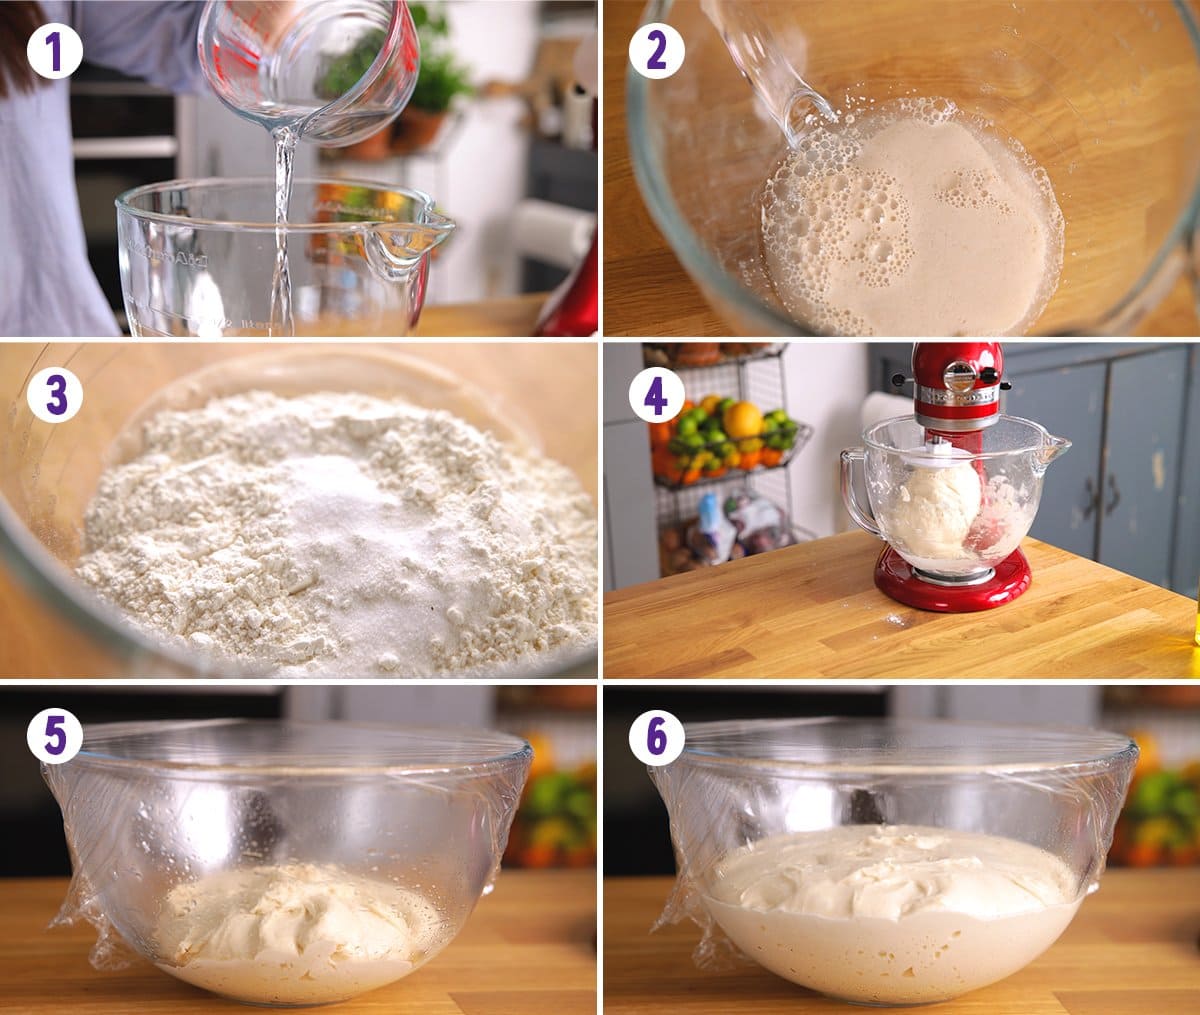
Add the yeast, sugar and warm water to a large bowl and leave for 5 minutes, until the yeast starts to foam.Add the flour and salt. Mix together until fully combined, then knead for 10 minutes using the dough hook attachment on your food mixer, or knead on an oiled work surface using your hands.Place the dough in an oiled bowl, cover and prove for 1 hour - until doubled in size.
Can I use a regular pan?
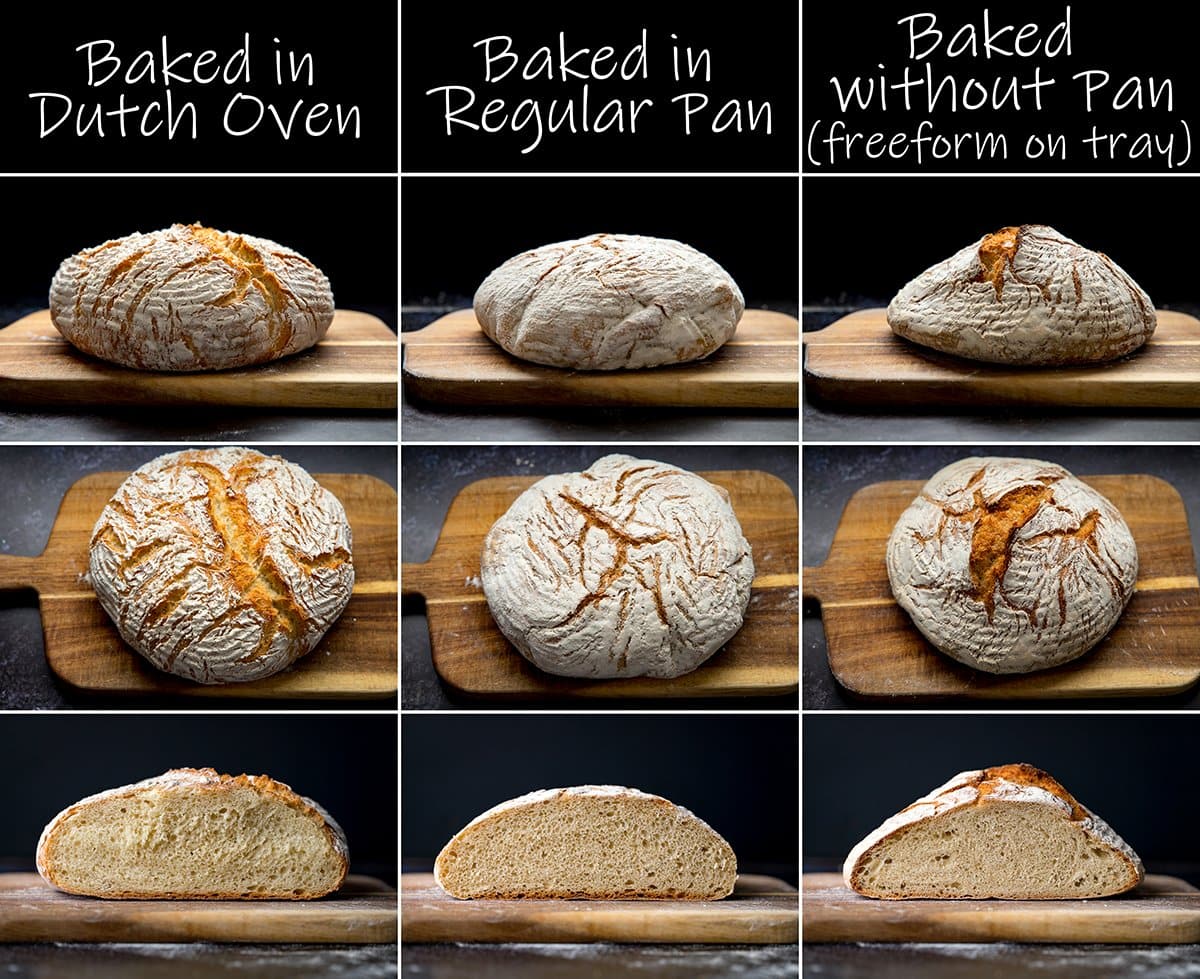
Yes, you can use a large (approx 25cm/10" diameter), oven-proof pan with a well-fitting lid.As the sides aren’t as thick, and the lid isn’t as heavy as a dutch oven, you will get slightly different results.I’ve done a comparison image below. The middle column of images shows bread baked in a regular pan.
You can see it didn’t rise quite as high The seams in the bread didn’t open out quite as much The crumb texture is a little more dense.
This is likely because more steam was able to escape from the pan, so the crust of the bread set a little more quickly.It still tasted great, just slightly less fluffy.
Can I cook in the oven, on a tray, without a pan?
Yes you can, but you’ll need to add steam into the baking process. For this:
Add a large dish of boiling water (at least an inch deep) to the base of the oven for the first 30 mins of baking. Then carefully remove the dish of water to allow the crust to crisp up for a further 10 minutes.
As you can see in the comparison image below, the column on the right shows the results of baking the bread free-form on a flat baking sheet, with a water bath in the oven.The bread rises more unevenly, and is more dense in some parts. The seam still opened up quiet nicely (the steam from the water bath helps with that) and the flavour was still very good, but the bread was a little more dense and the crust was more crunchy - this is likely because the bread is exposed directly to the heat of the oven, rather than being protected in the pan.
Why use a proving basket?
I love to use a proving basket to get that lovely stripy flour pattern on the bread.It also helps the seam of the bread to open up more during baking, as the seam isn’t as constrained during the second prove as it would be if it was placed in a flat bowl.So you can do your second prove in a large bowl that’s been floured, but it won’t get those nice rings and it will be a little flatter on top.It will still taste great though, and will still have a crisp exterior and fluffy interior if baked in the dutch oven.
Why do second prove seam-side down?
Those folds/seams we made when shaping the bread will end up as the top of the bread, as you’ll be tipping the bread out (to land the other way up) onto baking parchment.Those folds will open up slightly as the bread is baking, leaving you with a lovely slightly craggy crispy top. I got this tip from Life as a Strawberry and it works great!Baking the loaf seam-side up also means you don’t need to slash the bread with a knife to get an ‘Artisan’ look to the bread. I hate slashing bread, as I always worry I’m going to knock the air out of it, or I find the knife sticks and I have to drag it back out.Added bonus: If you use a proving basket, this gives those folds a little more room (so they’re not quite as compacted) during the second prove, so you’ll get more of a craggy top.
More Bread Recipes
Enjoy making your own bread? Try these too:
Brioche RollsHomemade ChapatiAle Bread RollsFruit Soda BreadDough Balls (with spinach and bacon dip)Homemade Bao BunsCheese and Tomato Garlic Pizza Bread
Some of the links in this post may be affiliate links – which means if you buy the product I get a small commission (at no extra cost to you). If you do buy, then thank you! That’s what helps us to keep Kitchen Sanctuary running. The nutritional information provided is approximate and can vary depending on several factors. For more information please see our Terms & Conditions.