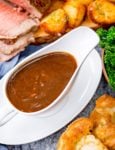
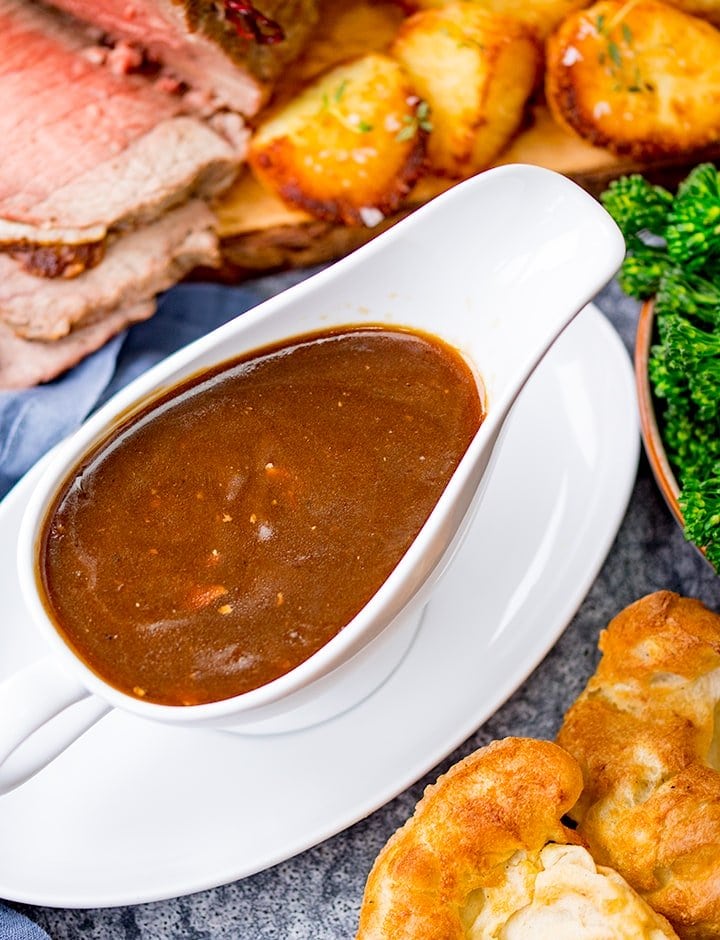
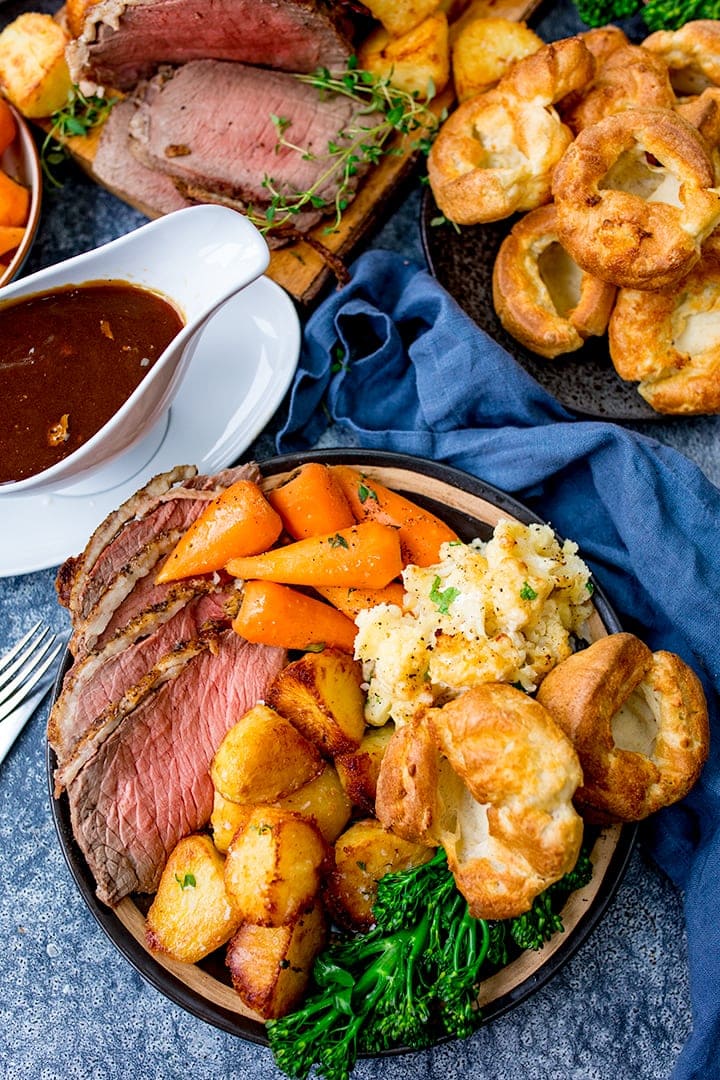
I kind of get the whole ‘au jus’ thing - a little trickle of meaty, flavourful sauce on your slices of meat, whilst leaving the potatoes and vegetables bare, so they look vibrant and colourful. But I don’t want a little drizzle of au jus. I want gravy. And loads of it! I want it all over my roast beef, roast potatoes and veggies. I want an extra puddle of it on my plate for dipping purposes, and I want my yorkshire pudding filled with it, so you get the excitement of cutting your yorkshire pudding open like a gravy river whooshing from a crispy golden dam. The rest of my family is the same, so when I make a roast dinner, I have to make that gravy stretch really far. But it has to be packed full of flavour too. This is my comprehensive guide for making a big batch of gravy from the meat juices of your roasted meat.
Which meat makes the best gravy?
Chicken
Good quality chicken can produce delicious gravy. Go with a larger chicken (we all want roast chicken leftovers right?), preferably free-range organic. This is because they’re usually fed a better diet and move around more, which produces a more tender meat. Brush all over with olive oil and season with plenty of salt and pepper before roasting.
Lamb
Lamb leg or shoulder is my favourite meat for a roast dinner. It’s a naturally fattier meat, with lots of flavour that makes tasty gravy. I love to add a teaspoon of mint sauce to my lamb gravy. Again, brush all over with olive oil and season with plenty of salt and pepper before roasting.
Pork
Whilst I love roast pork with crackling, I think it’s the most difficult to get a good flavour from. The layer of fat and skin ensure a pork joint will be lovely and juicy, but the meat juices don’t have much depth to them. I always add a mixture of beef and chicken stock (from a crumbled stock cube or liquid stock) to pork meat juices to increase the flavor. Using both results in a nice flavour balance for pork. A pork crackling joint should be scored and rubbed with plenty of salt before roasting.
Beef
Personally, I think a good quality joint of beef will give you the best flavour gravy. Look for a joint with a good amount of fat on top and little veins of fat (not gristle) running through it. I like a ribeye joint when I’m splashing out, or for a regular, less expensive cut, a good quality beef topside or top rump joint (although a little leaner than ribeye), is good too. Cooked in the oven with a splash of olive oil and a good sprinkling of salt and pepper, you’ll get some tasty meat juices for your gravy. I have used brisket in the past too, but as this is a tougher cut of meat, it requires longer cooking. Because it doesn’t product much in the way of meat juices, I add a half bottle of red wine to the pan and cover the brisket before cooking low and slow to ensure I have good tasting liquid for the gravy.
Vegetable trivet or not?
Some chefs like to roast their meat on top of a trivet of onions and carrots. The trivet can help to keep the base of the meat moist, and the caramelization of the veggies, once squished around a little at the end of cooking, can add flavour to the gravy. These veggies are then discarded. Personally I hardly ever use a vegetable trivet. I prefer the meat juices to drip directly into the pan, and then start to caramelize on the base of the pan. It’s these lovely darkened caramelized juices that give the gravy the best flavour in my opinion. I can’t stand the thought of letting the vegetables soak up the juices, then trying to squish that flavour out of the veggies before discarding them. That’s flavour that’s being thrown away! The times when I would use a vegetable trivet would be for something like a brisket - which takes a long time to cook, and needs all the help with moisture it can get. I add wine into the base of the tin too, so as the meat juices are released into the veggies, they’re also going into the wine. I also may use a vegetable trivet if I’m cooking a huge piece of meat - like a large turkey. Again, you’re cooking the turkey for a long time, so it needs a little help with the moisture. Also, roast turkeys produce lots of meat juices, so you won’t be chucking it all away when you discard the vegetables.
Should I add stock cubes/stock pots/concentrated liquid stock?
100% yes! If you want lots of gravy, you’re going to need some help. The meat juices from your roasting joint will generally have a lovely, deep flavour, but they won’t go very far. Adding the vegetable water from steaming/boiling your vegetables, as well as a couple of crumbled up stock cubes will make the gravy stretch much further, whilst still ensuring the flavour from the meat juices shines through. I personally like chicken or beef oxo cubes (I use one per cup/240ml water) or even better if i have some homemade stock in the freezer. If i’m making a gluten free version, I use Essential Cuisine concentrated liquid stock/glace or powder. It’s more expensive than Oxo cubes, but has a fantastic flavour (fyi - I’ve worked with them in the past, but I’m not being paid for this mention in any way). I think it’s only available in the UK, online or in larger farm shops. If you’re in the US and you know of a fantastic gluten free stock cube/powder/liquid, let me know in the comments and I’ll add it into this post.
Cornflour/cornstarch method or the roux method?
I’m probably going to shock you now, but I prefer the cornflour/cornstarch method. The roux method (which involves sprinkling flour into the meat juices, stirring with a whisk to form a paste, then slowly adding liquid) is more traditional, but has a higher likelihood of going wrong - producing a gravy with a floury taste if the flour isn’t cooked out enough, or lumpy gravy if you’re not really careful whilst adding the stock. Some people believe the roux method is more flavourful, but I don’t think there’s a difference in flavour. Using the cornflour/cornstarch method means you can add all liquid in first (so you can ensure you have the right quantity of gravy), then add the cornstarch slurry to thicken. It also produces a shiner gravy that’s gluten free (providing you use gluten free stock) I’ll include instructions for both methods in the recipe card below.
Using bones for gravy (brilliant for make ahead gravy)
Is it gross that I have bag full of bones in my freezer? Whenever we have a roast - chicken, lamb, beef - basically anything roasted on the bone, I always save the bones. Place them in a bag, and keep adding to that bag. Once you have a couple of chicken carcasses or a few bones, add them all into a large stock pot (mix them up - lamb bones, beef bones, chicken carcass - they can all go in together) with a a couple of roughly chopped onions (no need to peel), a couple of broken up carrots (no need to peel), a stick of celery and ½ tsp each of salt and pepper. Cover with water - so it nearly reaches the top of the pan, then bring to the boil. Simmer for 3-4 hours until the liquid has reduced by three-quarters. Leave to cool a little, and strain the liquid into a bowl. Give the bones and veggies a good squeeze with a spoon to get all the liquid out. Cool and freeze this stock for later or use right away. It makes a fantastic base for soup, or you can heat it and stir through some cornstarch slurry (2 tbsp cornflour/cornstarch with 5 tbsp cold water) until thickened. Add in a splash of gravy browning if you like a darker gravy. Add in a crumbled stock cube if you want even more flavour.
Making gravy when you haven’t got any meat juices (i.e for sausages)
So you want to make toad in the hole or chips and gravy - without resorting to bisto and water (sorry bisto). You’ve got a few options:
The gravy:
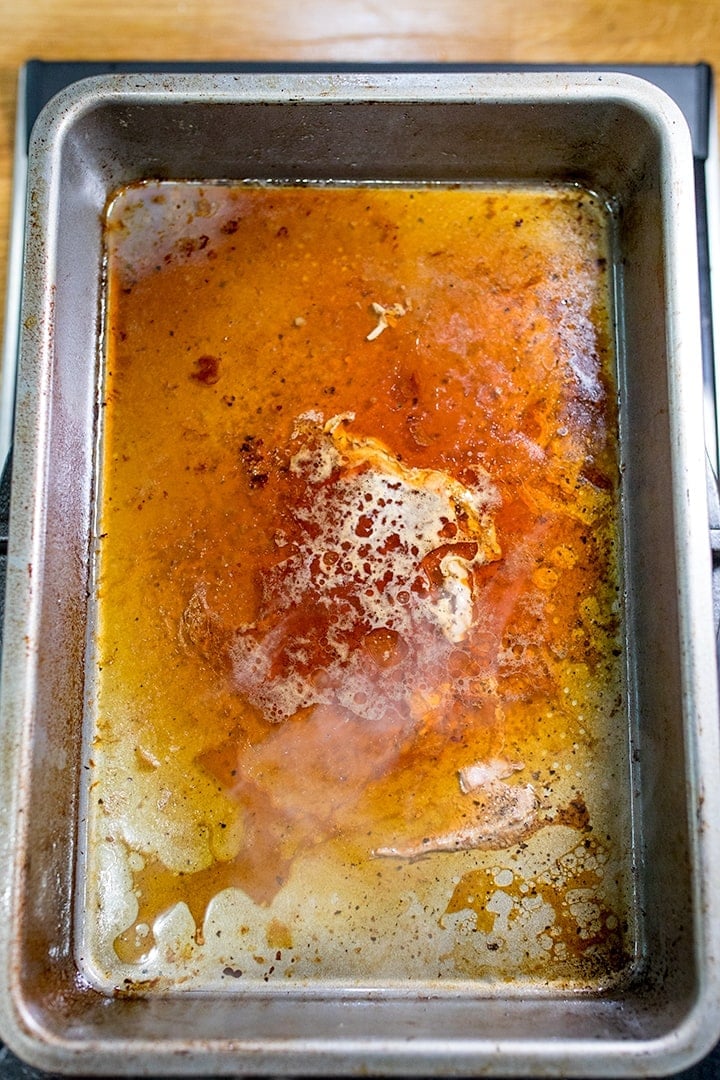
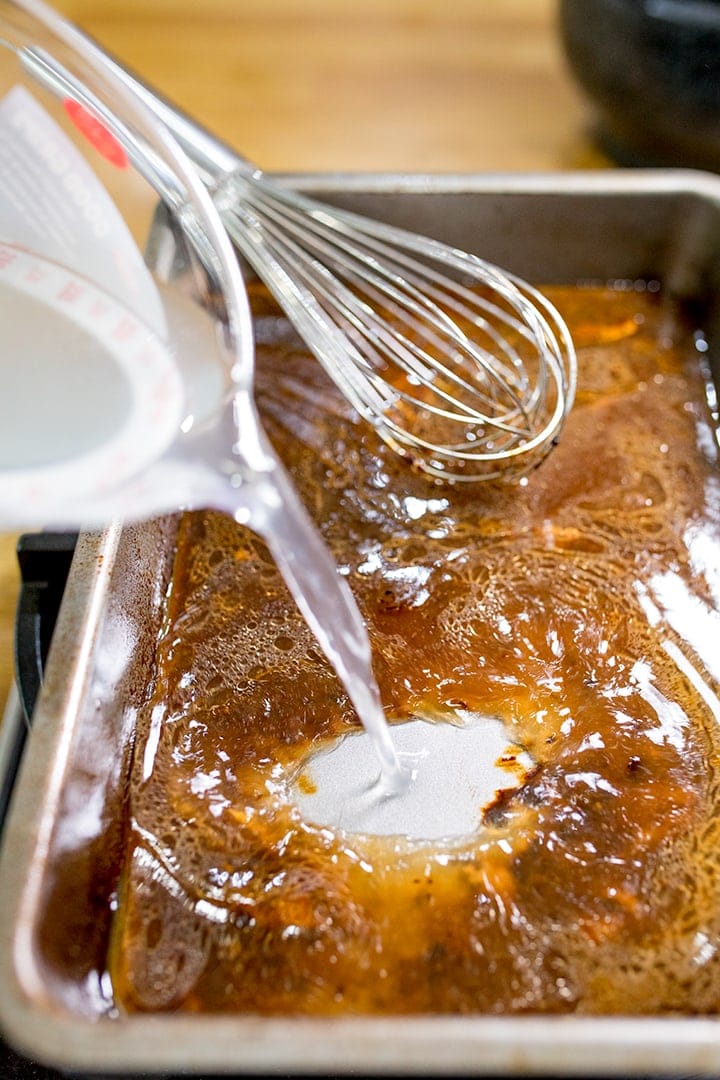
(fyi - i’ve included instructions for the roux method in the recipe card below as well). Heat the meat juices in the roasting tin (ensure your roasting tin can take direct heat):
Sprinkle on a couple of crumbled stock cubes or add in a couple of teaspoons of concentrated liquid stock:
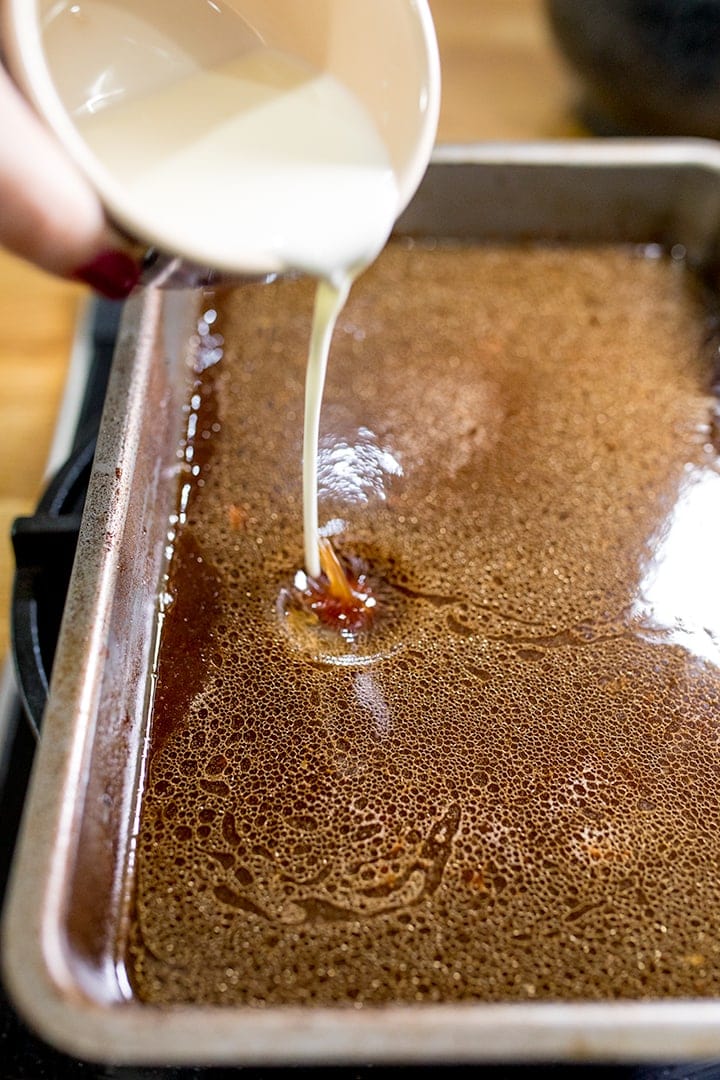
Stir together whilst pouring in the vegetables water from boiling steaming your vegetables and potatoes. Bring to the boil and lightly season with salt and pepper.
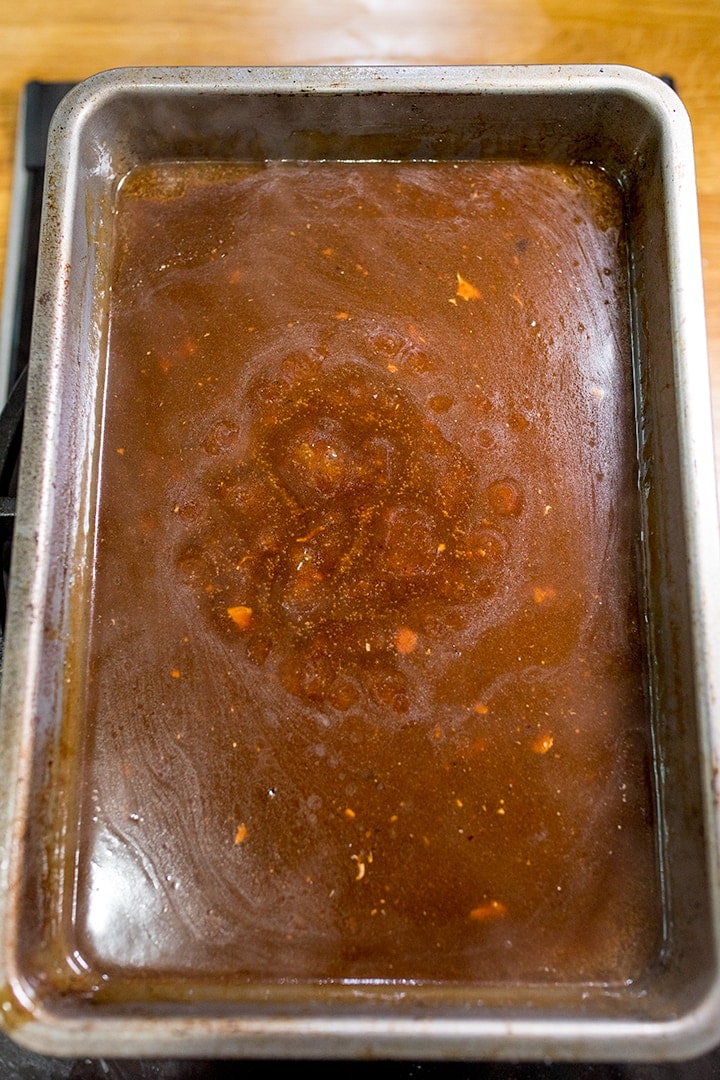
Stir in a simple cornstarch slurry (2 parts conrflour/cornstarch mixed with 5 parts cold water) using a whisk, until thickened.
Allow to bubble. Add any meat juices from the rested meat. Check for seasoning and add a little more salt and pepper if needed.
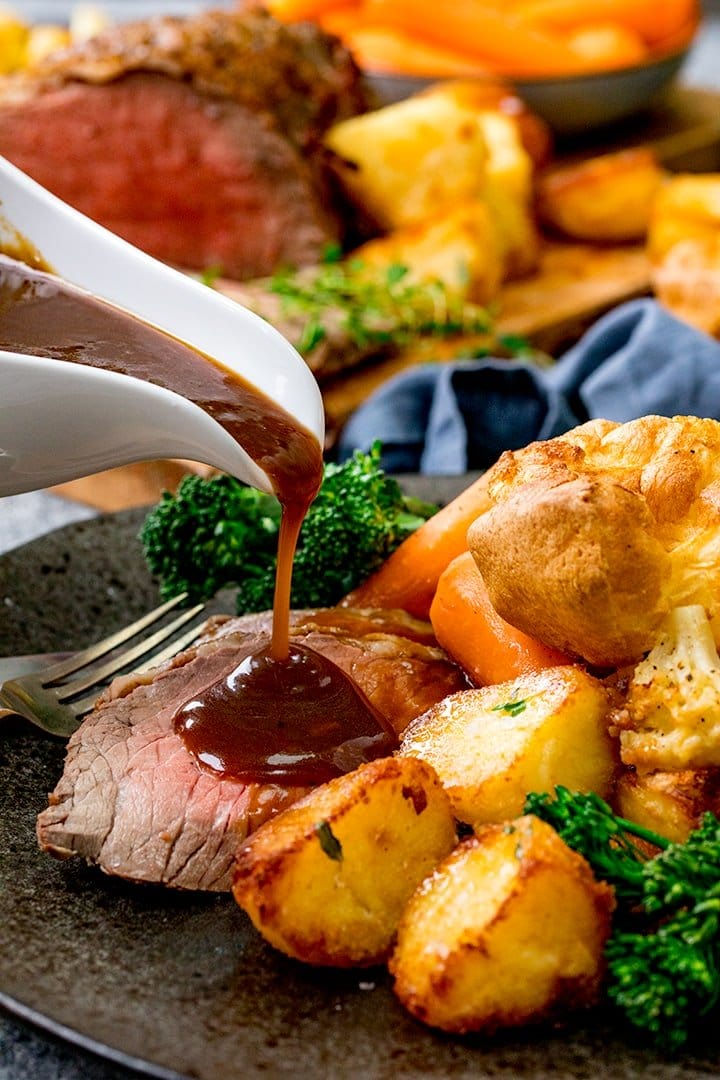
Serve immediately. Or turn off the heat until the rest of your roast dinner is ready and reheat just before serving. If you’re short on hob space, pour into a microwaveable jug and reheat in the microwave right before serving. This gravy is part of my ‘How to make a Roast Beef Dinner step-by-step timeplan’ post. Check it out for easy to follow instructions on making a mouthwatering roast beef dinner!
How to make Gravy:
Some of the links in this post may be affiliate links – which means if you buy the product I get a small commission (at no extra cost to you). If you do buy, then thank you! That’s what helps us to keep Kitchen Sanctuary running. The nutritional information provided is approximate and can vary depending on several factors. For more information please see our Terms & Conditions.