Pumpkin Pie
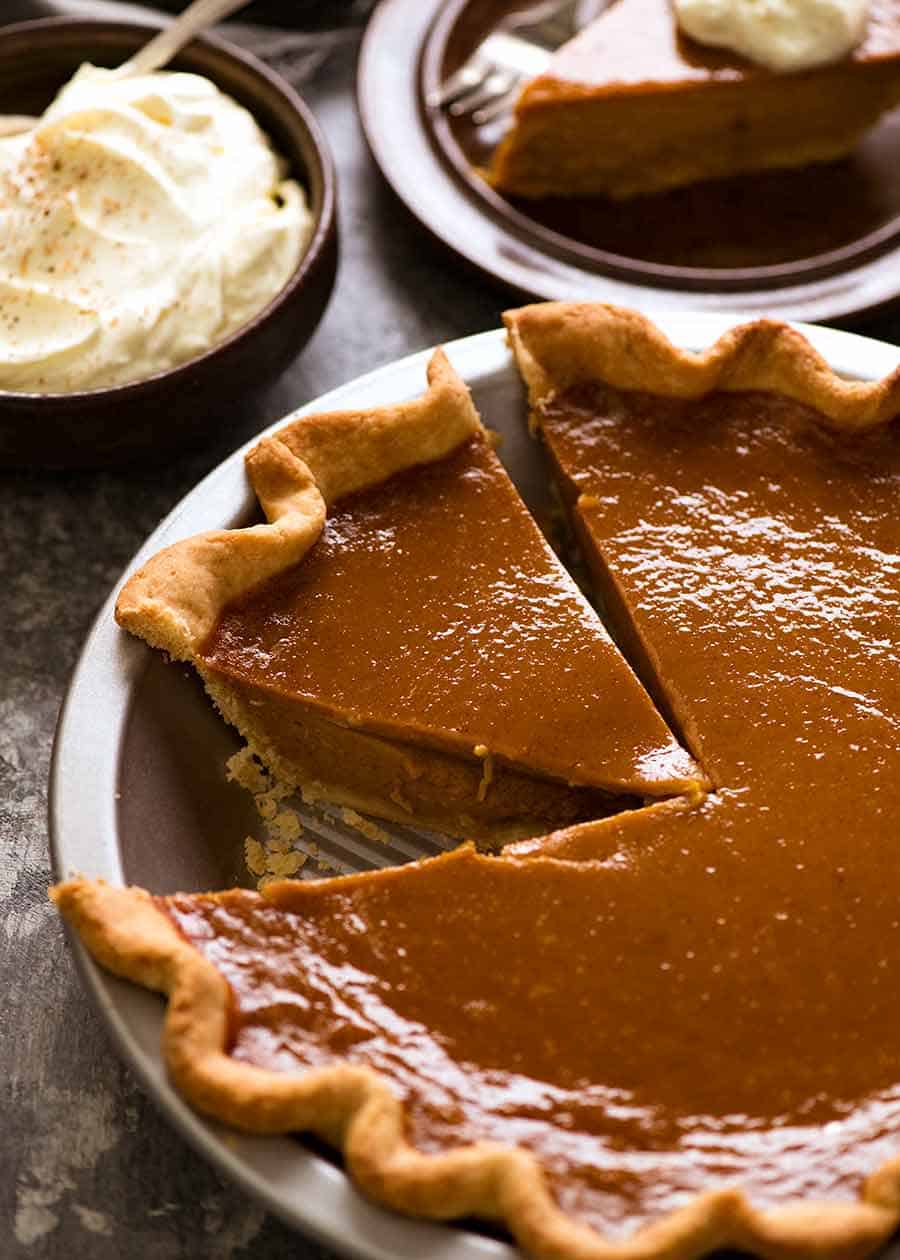
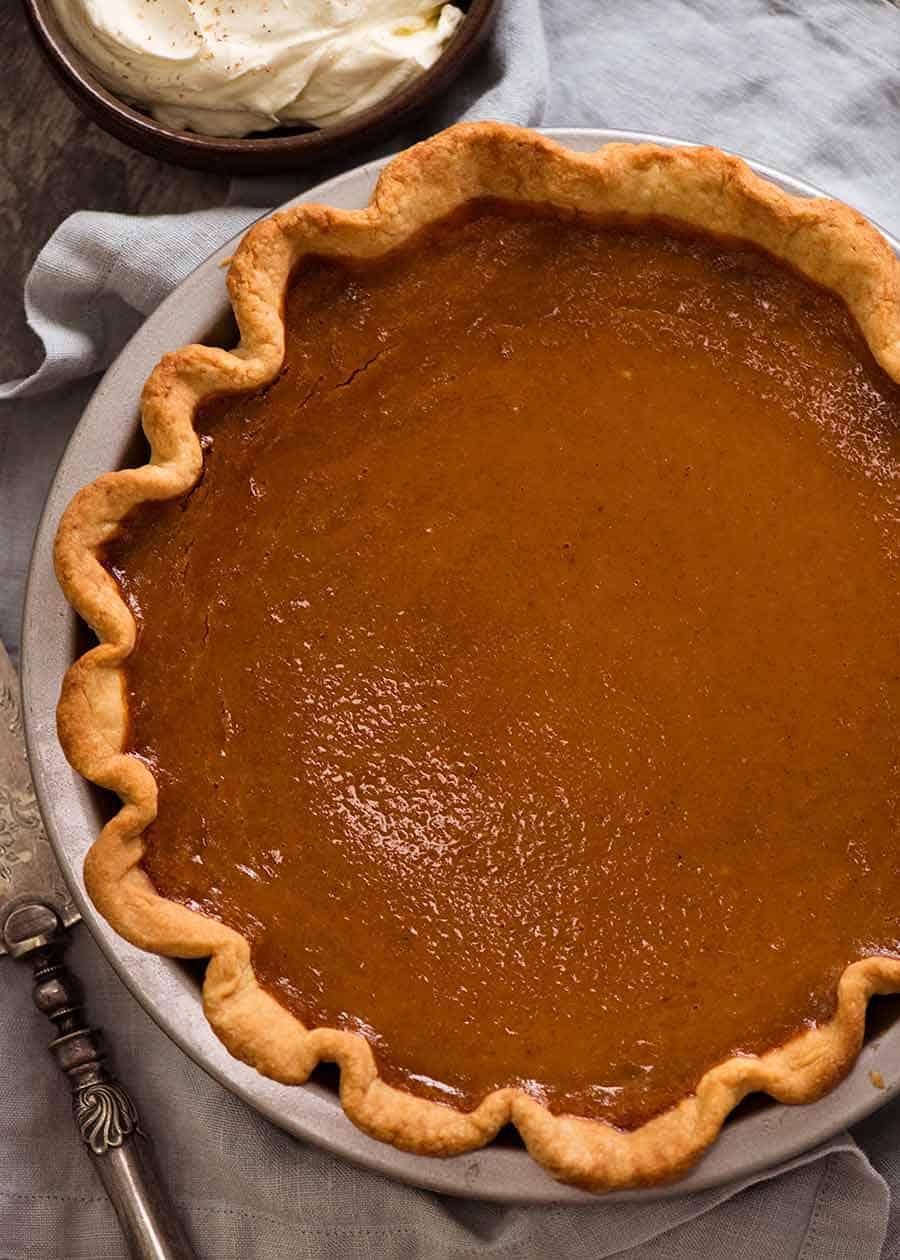
For a recipe that’s actually incredibly simple to make, perfecting The Pumpkin Pie was irritatingly difficult – hence why it’s taken me until 5 years to share it. Not enough spicing, weird blend of spicing, too sweet, not sweet enough, unpleasant “curdled” filling, severe cracks, overcooked, undercooked. I feel like I’ve battled every possible variation of pumpkin pie to confirm that this is The One. It’s based on the filling recipe from Smitten Kitchen albeit I tweaked the spices (I found them too subtle) and reduced the oven temperature because I discovered by trial and error that this is the easiest path to avoid cracks on the surface of my Pumpkin Pie. Isn’t she a beauty? There are the teeniest of cracks on the edges, and truthfully I could’ve just photoshopped them out (and I bet some food magazines DO!!). But there is no need – she’s pretty near to perfection!
What you need for Pumpkin Pie Filling
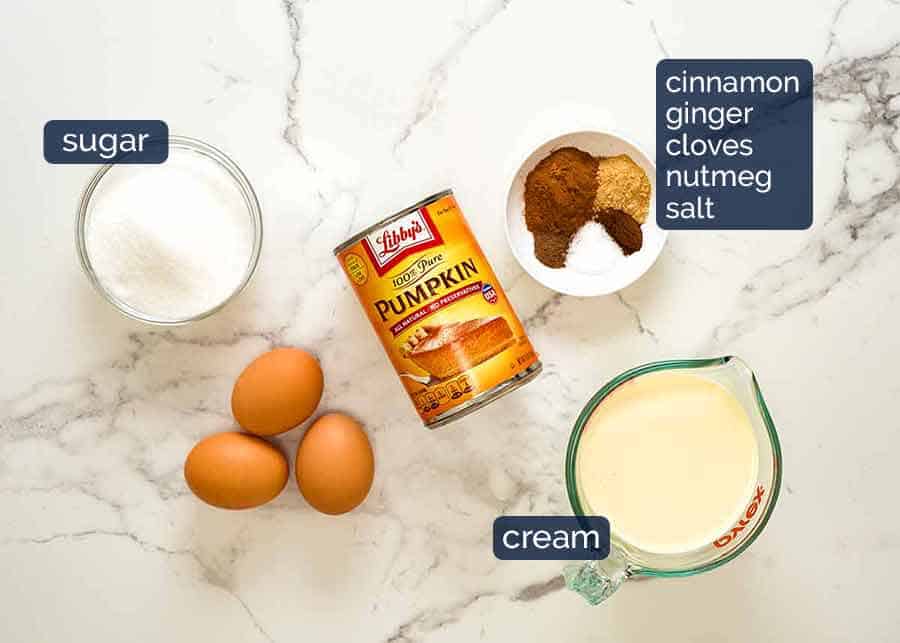
Here’s what you need for the filling:
Pumpkin puree – canned or homemade (see below). If using canned, make sure you use pure pumpkin, not pre spiced pumpkin pie filling; Homemade Pumpkin Pie Spices – cinnamon, ginger, cloves and nutmeg; and Sugar, cream and eggs.
Homemade Pumpkin Puree for Pumpkin Pie
After much trial and error, I’ve found that the best way to make pumpkin puree for pumpkin pie is to steam pumpkin pieces then pass through a sieve. Boiled pumpkin is too watery. Roasted pumpkin, albeit arguably the “best” pumpkin flavour, dries out too much so once mashed, it’s too thick which results in a pie filling that’s not as soft as it should be. Steamed, mashed or pureed in a food processor, then passed through a sieve yields pumpkin puree that is, in my opinion, virtually identical to canned pumpkin.
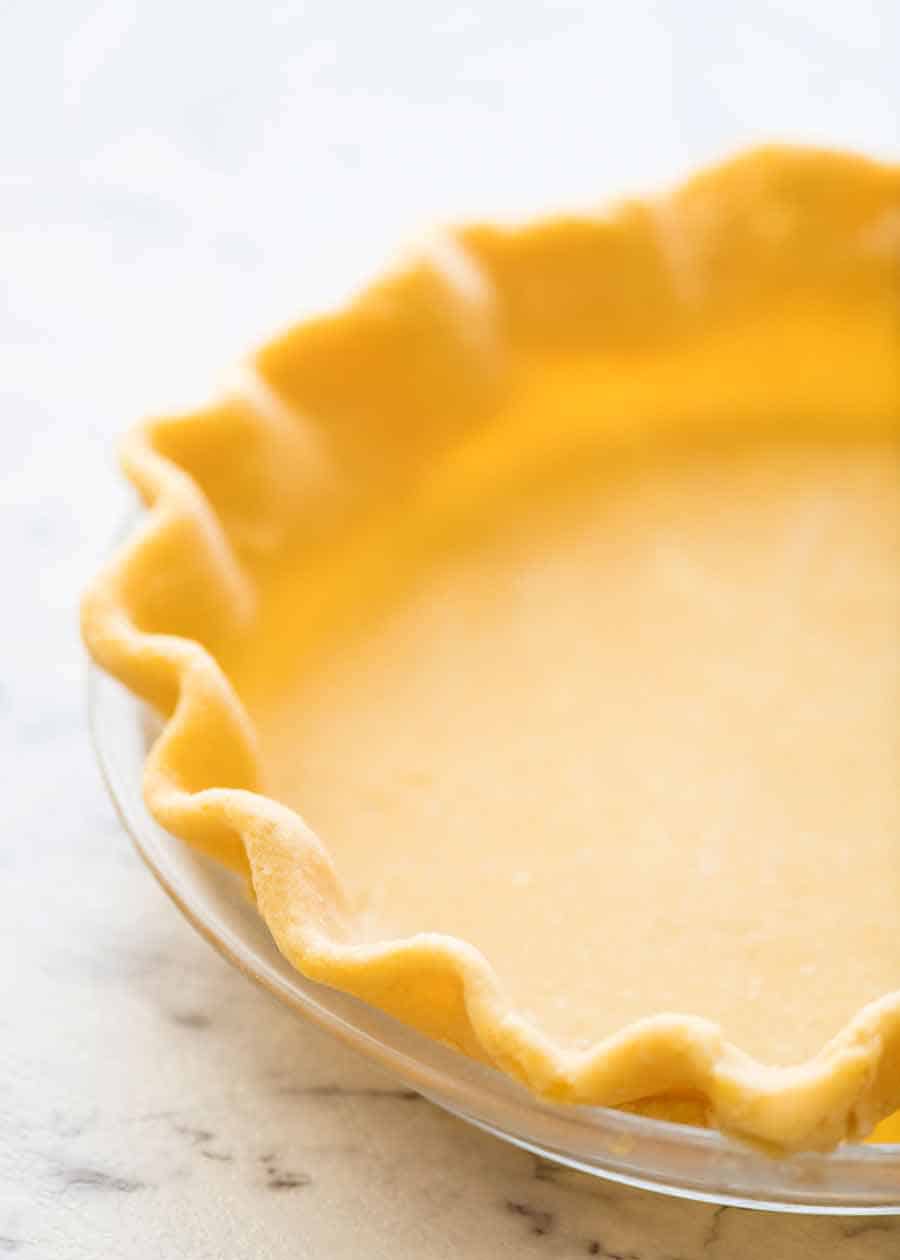
Pumpkin Pie Crust
Buy it or make your own. Though personally, I think once you discover that it takes 1 minute to make a Pie Crust with your food processor, you may never buy one again!
How to make Pumpkin Pie
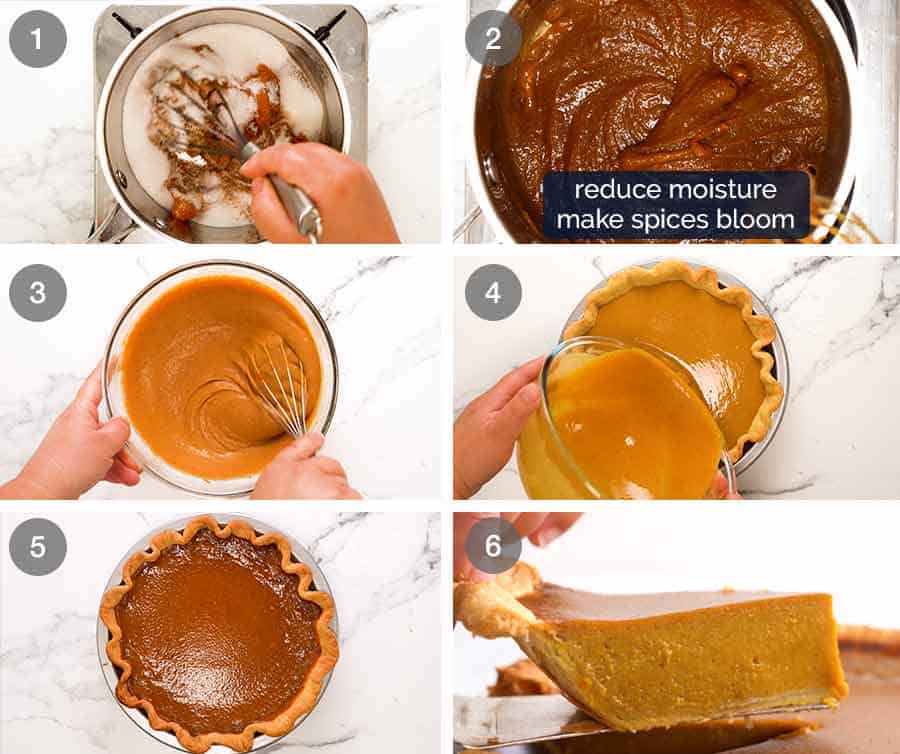
99% of Pumpkin Pie recipes out there are as simple as dump-and-mix. I credit Smitten Kitchen for leading me to the Cooks’ Illustrated method to gently cook the pumpkin and spices just for just 5 minutes to remove a bit of the excess water in the pumpkin (canned OR fresh) to ensure the pie crust base doesn’t go soggy and let the spices bloom for improved filling texture and superior flavour. Once that’s done, it does become a dump and mix job!
How to avoid cracked surfaces on Pumpkin Pie
This is a problem I kept running into. They were never severe, and when the pie was cooling it always deflated a bit so the cracks would largely “self heal”. But it annoyed me enough to persist with trying to solve the problem of cracked Pumpkin Pie, and here’s how I resolved it:
Don’t overbeat the eggs – Once you add the eggs, don’t whisk to death because it creates air pockets in the filling which = cracked surface. Add eggs last, one by one – I thought whisking eggs first would reduce air pockets but in fact, it created more and made the cracks worse! BANG the bowl before pouring into the pie crust – this will make bubbles rise and pop on the surface (bonus: it’s super fun 😂) LOWER oven temp – baking temperatures vary wildly from recipe to recipe. For me, I found that by using a lower temperature, the filling sets more slowly and avoids cracks. Whereas at much higher temperatures (200°C/390°F and above), the filling would puff up early on in the bake time, causing cracks. (Bonus: Lower temp = more even golden pie crust colour).
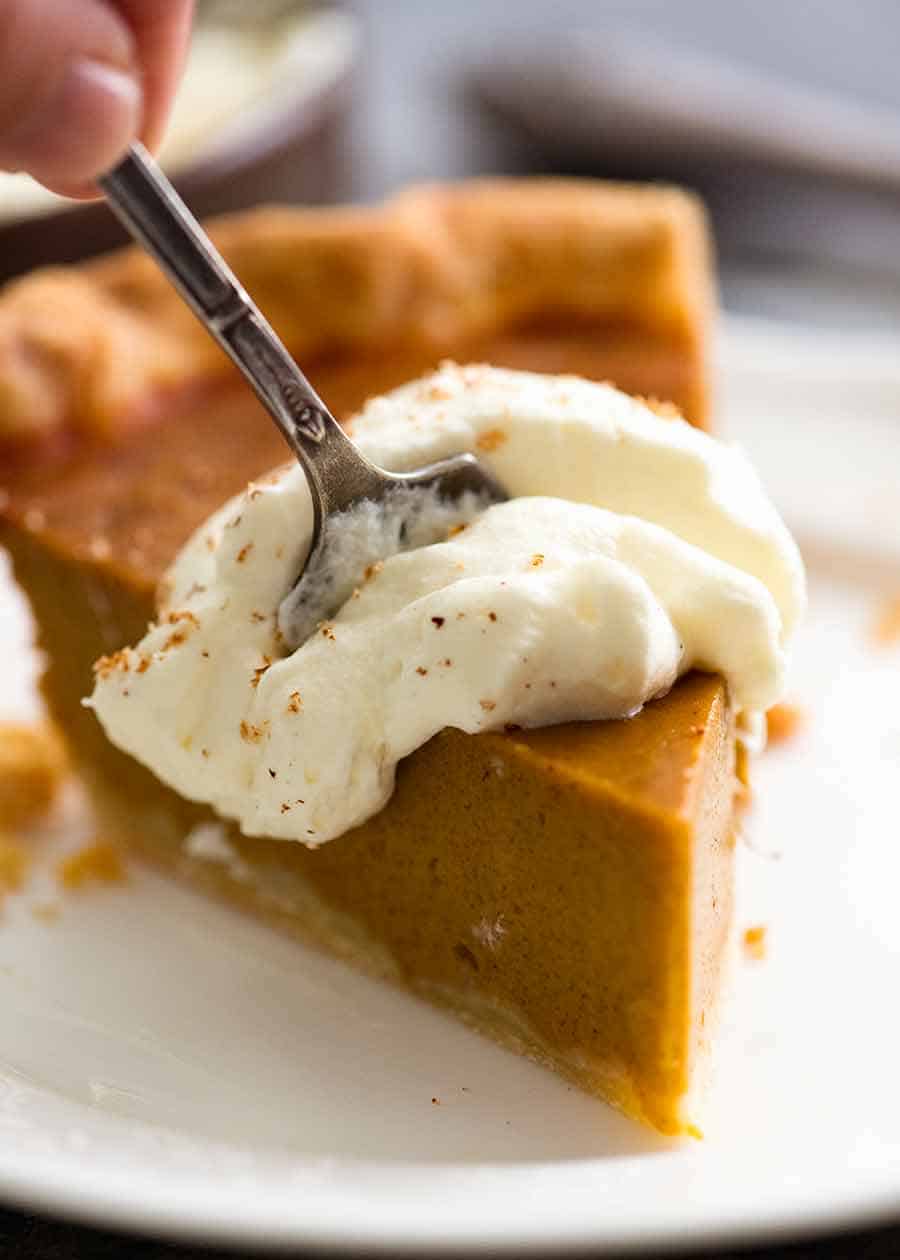
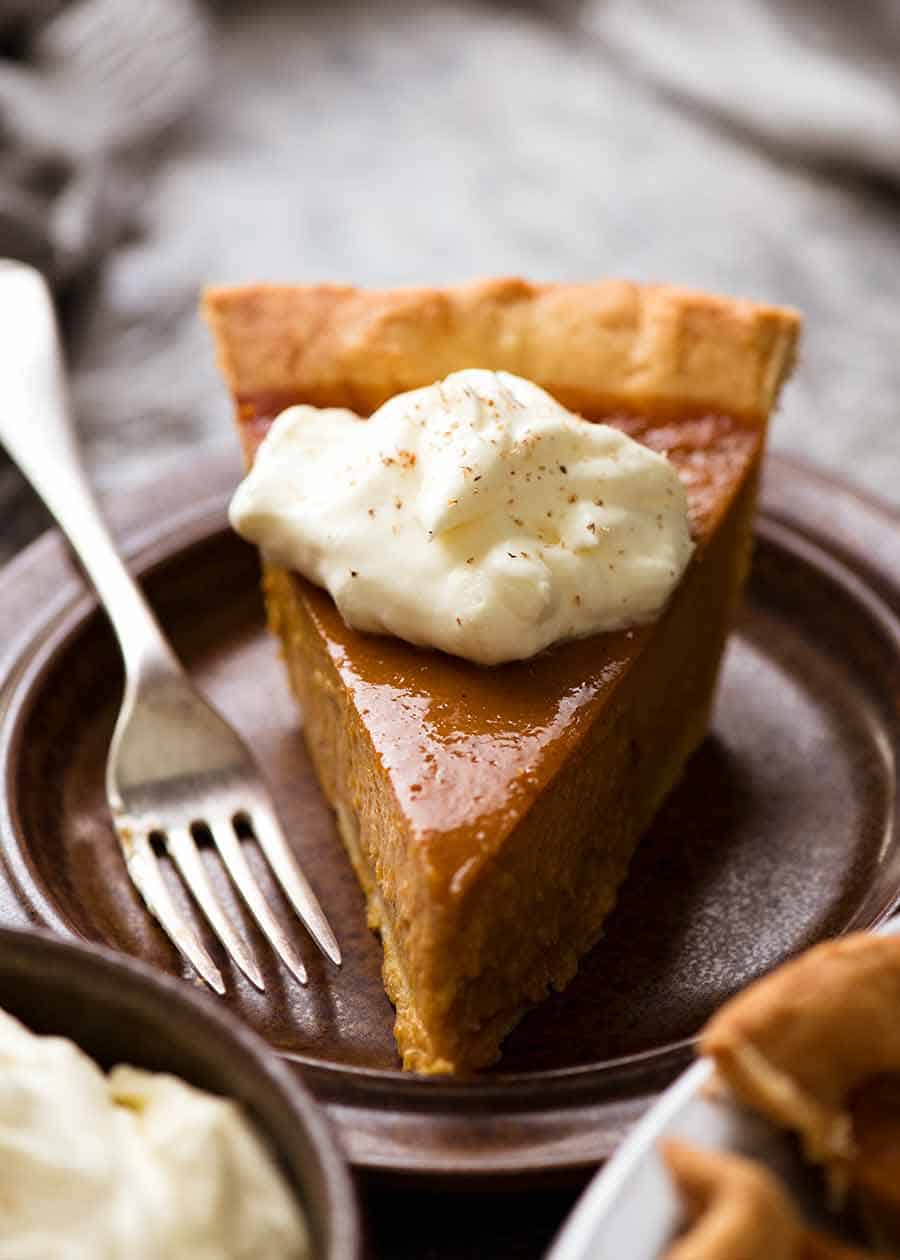
And that, my friends, concludes The Pumpkin Pie Project once and for all. I’m so happy with it, it’s all my Pumpkin Pie dreams come true. Serving with a generous dollop of cream is not an option, it’s essential! The extra texture, that extra hit of creaminess…. it’s the perfect finishing touch. – Nagi x
Watch how to make it
See the separate how-to video for the homemade pie-crust here!
Life of Dozer
Oh boy, Dozer has had a LOT of Pumpkin Pie over the past few weeks!!!
